- March 2, 2023
- Posted by: Anna Rosenkranz
- Category: Blog
Content creators on YouTube alone upload about 720,000 hours of video content a day. This translates into around 500 hours of video a minute. There are, of course, other pieces of content that never make it to YouTube. Instead, they’re used in films, social media posts, ad campaigns, TV, etc. Consequently, there has never been more demand for stock footage than in the modern era. After all, some people who upload don’t have the equipment or the technical capacity to record the kind of videos they want. Alternatively, it could be a question of logistics where there are barriers to the content creators recording the videos themselves.
Ultimately, this means you can earn a significant income from recording and selling stock footage. But is it as easy as recording anything and posting it on social media? Certainly not. There are dos, don’ts, and stock footage selling tips that may come in handy if you want to turn a profit.
What Kinds of Stock Footage Sell the Best?
You need your clips to sell for you to make enough money or for your stock footage portfolio to be worth the effort and investment. However, as mentioned above, it’s not as easy as recording a 50-second video of your cat walking and uploading it online. You need to know the kinds of stock footage that sell the best so you can center your production around that.
First, you must consider what kinds of stock footage clips are in high demand. Provided the market isn’t saturated with such clips, there’s a high chance you can make some quick cash if you center your production on something that already has a market.
Conversely, if you film stock footage that nobody wants and that situation doesn’t change, you may never get compensated for the time, effort, and resources you put into it. Nevertheless, any well-crafted piece of stock footage has the potential to put some change in your pocket.
Trends change, and some of the more recent popular trends in film include travel, food, sports, animals, lifestyle, leisure, etc. There was also a time when time-lapse videos were popular, although hyper-lapses have taken over. Time-lapse videos involved taking stills and stitching them together to create videos. On the other hand, hyper-lapse videos are taken as videos, although the speed is adjusted to give a different feel.
Also, adding diversity in the kinds of stock footage you create helps future-proof your source of income in case the trends change.
In addition to checking for demand before making stock footage, the end product needs to be high-quality enough to warrant purchasing. Higher-quality footage sells faster, which is why 4K stock footage is selling better than 1080p video. In a few years, 8K footage will sell better than 4K.
That said, quality doesn’t always mean resolution. Other aspects include good lighting and technique. There are also aesthetic dimensions like humor, surprise, calmness, and novelty that can help give you the edge over other people selling similar stock footage.
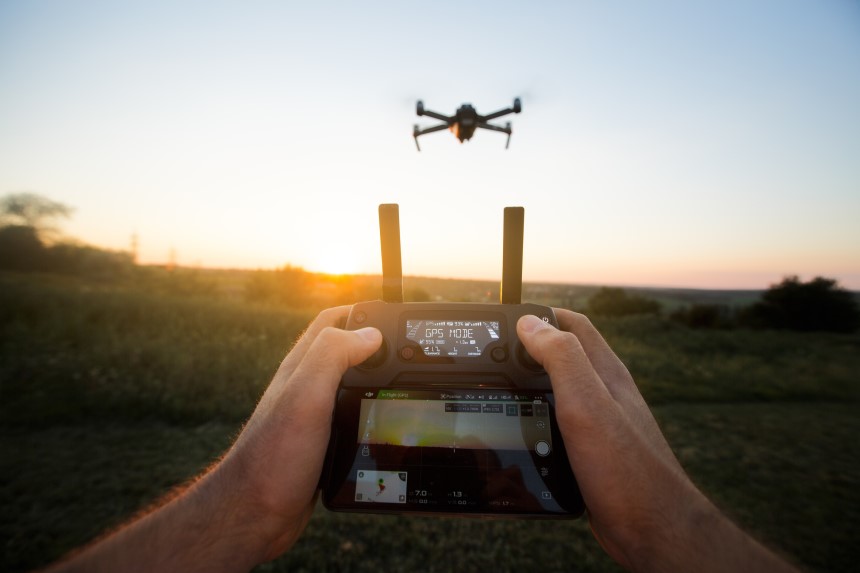
Good drone footage is one example of stock footage that seems to be doing well in the current market. As such, if you have a video-capable drone, you stand a chance of making some cash from stock footage. However, before you can record drone footage, you must conform to your country’s drone use regulations.
In the U.S., for instance, the Federal Aviation Administration requires you to have a Remote Pilot Certificate. Also, requirements for the certificate include the fact that you must be over 16 years old, have a good understanding of English, and be in the physical and mental condition to fly drones safely. Lastly, you need to pass the Unmanned Aircraft General aeronautical knowledge exam.
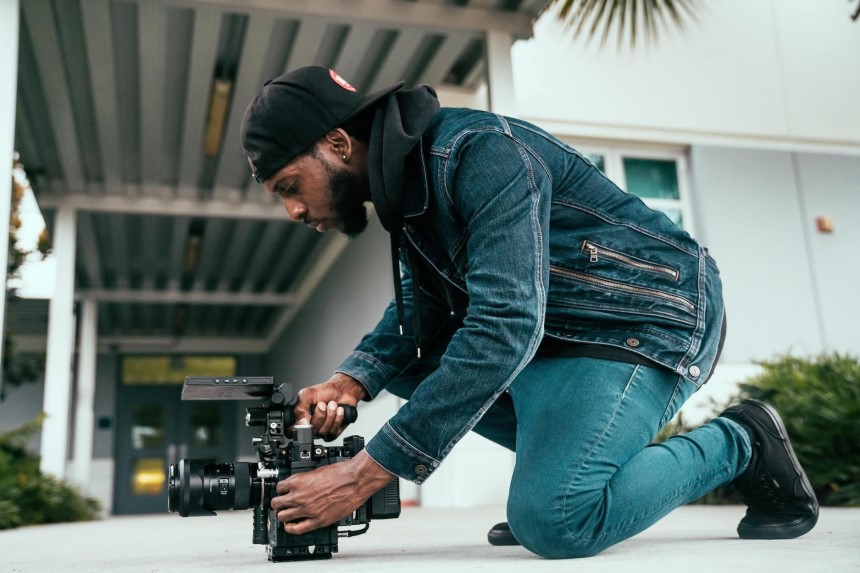
First Steps in a Stock Footage Business
There are several steps to take if you want some success in the stock footage business, and if you’re interested in starting, here are tips to help.
Choose a Niche
While it’s important to pick a niche that sells well, it’s also crucial to pick a niche that you enjoy or are already familiar with. This should make the first few months or weeks of creating footage a little easier. You might not have to do as much research, which means you can dedicate more time to learning other important aspects of the stock footage selling business.
It also means you can decide where to direct your resources for the best return on investment. For instance, you might find that the current niche is based on animation rather than videos shot on camera. As such, investing in a powerful PC capable of 3D animation may be more prudent rather than buying a $2,000-$10,000 camera setup. Also, if you already have the PC and skills, you might be able to start right away.
If you choose a drone footage-related niche, you might want to get a drone license. Furthermore, it’s a good idea to familiarize yourself with laws regarding drone use before you start recording. Otherwise, you might land yourself in some legal trouble.
Also, once you choose a niche, you can study existing stock footage on the same, so you know what you can or can’t do and what can help you stand out from other stock footage creators.
Choose your Equipment
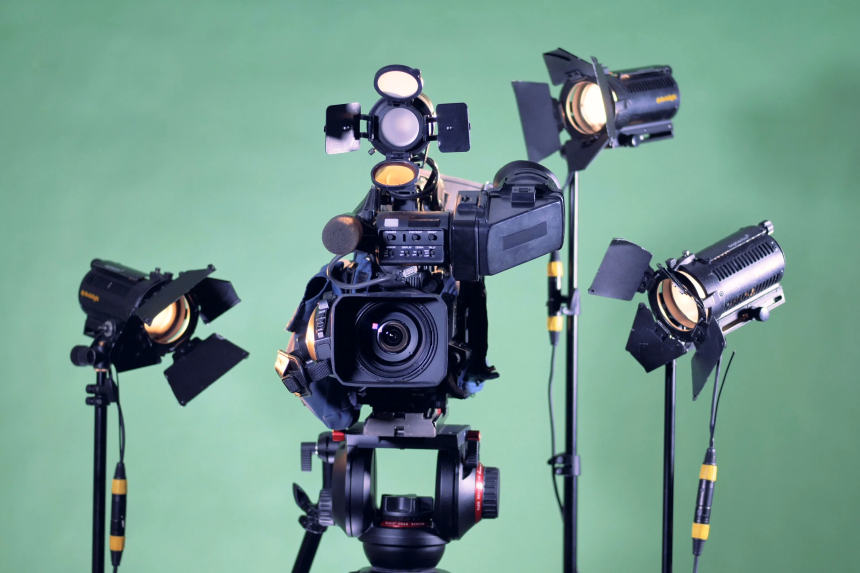
A few years ago, getting into the stock footage was a tall order due to how expensive the equipment was. Cameras would cost several thousand dollars, with optional lenses increasing the overall cost. Furthermore, there were the additional costs of stabilizing equipment, including gimbals and tripods. However, technological advancements have made the technology a lot more accessible, even without a huge budget.
High-end phones now come with cameras that are good enough to record stock footage. For instance, iOS and Android flagships can record up to 8K footage. Furthermore, some of these phone cameras even have built-in stabilizers. In the case of professional cameras, pricing has decreased for some models and lenses, not to mention some of them also have inbuilt image stabilization.
Lights are also cheaper and more available. Ideally, you should get the best equipment possible to future-proof your business. After all, if your camera can already record 8K footage, you won’t need to upgrade in a few years when the market starts asking for higher-resolution videos.
Nevertheless, even if you don’t have a huge budget, you can start with a phone setup and upgrade or add other equipment over time.
Choose the location
The location you pick has to match the intended niche. For instance, if you’re shooting corporate videos, corporate environments like boardrooms and office buildings would make the most sense for production. If you’re shooting nature videos, you need a forest or other natural phenomena as your main location. Similarly, if you’re shooting climate change-related stock footage, footage of ice caps melting or the flash floods in areas affected should work well.
Get the Paperwork Ready
As mentioned above, you may need to get a license in case you hope to record drone footage. However, this is not the only paperwork you’ll have to deal with. You need release forms for the models and property. After all, you don’t want to be sued later for using certain models or pieces of property without consent.
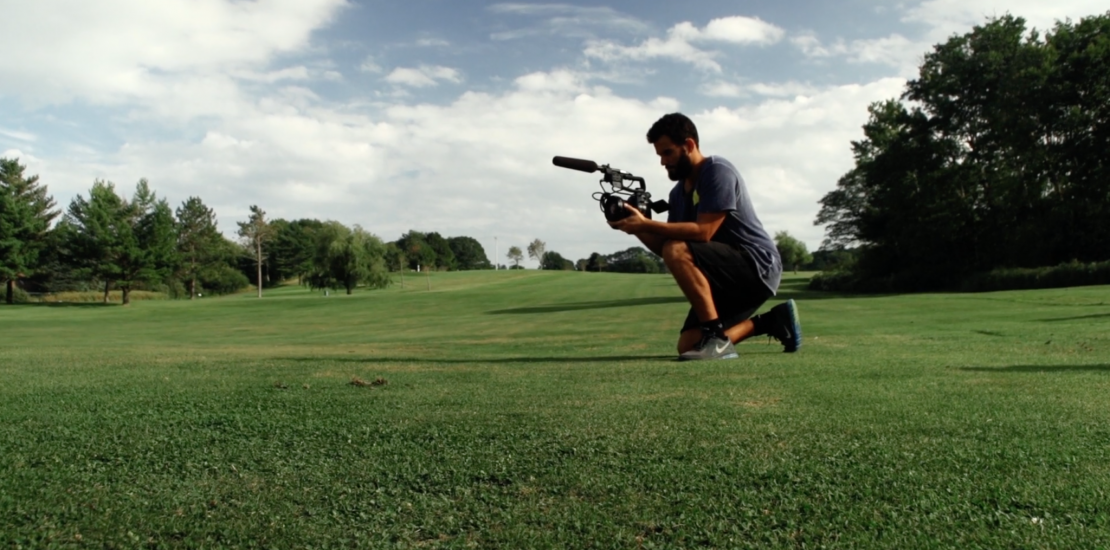
Start Filming
All the preparation above should allow you to start filming. This is also where you learn the skills necessary to produce high-quality stock footage through trial and error. YouTube is an amazing free resource for picking up skills as you go along. However, you can also join a filming class to hasten your progress. The goal is to have as many stock footage clips as possible.
Try filming different aspects of the same footage so you can then pick the best. You can also try different cinematography techniques to find out what works best in what scenario. Notably, a huge portfolio increases your chances of earning sufficient income from your stock footage business. As such, even if you’re fully employed elsewhere, try to create new footage as often as possible.
Learn some editing techniques as well. Remember, color-graded footage sells better than non-graded footage.
Upload to Different Stock Footage Platforms
Of course, the stock footage will not make you any money sitting in your hard drive. You must upload it so potential buyers can browse and pick their favorites. While it’s okay to have a website where you can sell the stock footage yourself, you’re less likely to reach the people who need stock footage that way.
Consequently, it would be better to start selling footage on platforms with willing buyers. Examples of these platforms include Pond5, Getty Images, Shutterstock, Adobe Stock, etc. You may also need to include the right metadata to make it easier for potential buyers to search for your stock footage clips online.
According to the University of North Carolina, metadata describes other pieces of data, in this case, stock footage data. Some information in the metadata includes how and when the video was made, the geographical scope, etc., and while useless on its own; it adds value to the stock footage.
Different stock footage platforms offer different compensation packages, so it’s important to read the terms and conditions before signing up and uploading files.
Then Comes the Waiting Game
With the videos uploaded, all you can do is wait for results. You can then refine your strategy based on what works and what doesn’t. If you find that a particular style of video stock footage sells more than another, you can focus more on that to maximize immediate income. Additionally, it’s a good idea to keep researching changes in trends, so you remain ahead of the curve.
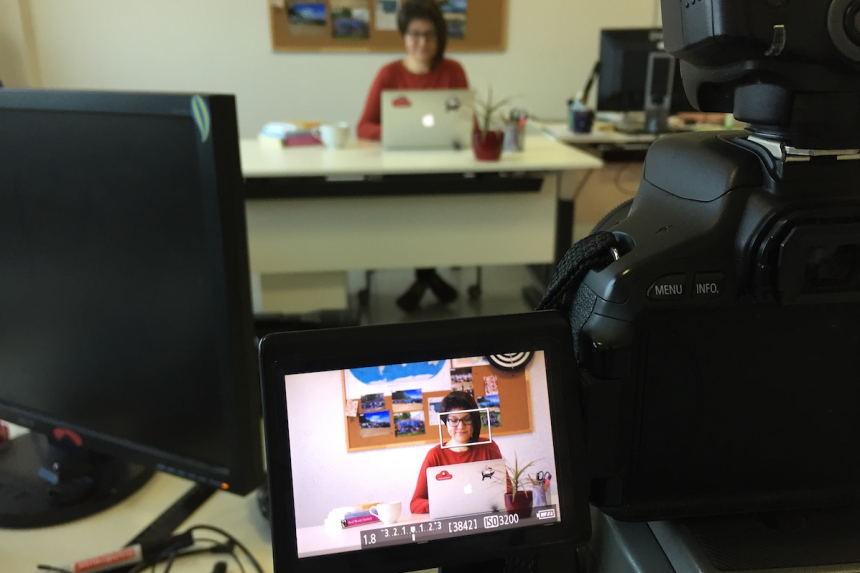
Filming Stock Footage
For filming stock footage, you’ll need to be armed with the right technical skills and knowledge. Things like frame rate, aperture, ISO, and the right recording angles should be second nature. Also, try planning before shooting anything. Spotting something you like or think is interesting and taking out your camera or phone to shoot will not cut it. Instead, you should have a storyline that you’re trying to show viewers.
Thinking about what your dream client would look for will likely give you the edge over other stock footage creators. Basic cinematography techniques should also come in handy. So what basic cinematography and film techniques can help you sell stock footage? They include:
The Close-Up Shot

As implied by the name, a close-up shot involves getting up close and personal with the subject. It should allow viewers to see and engage with the subject’s emotions and facial expressions. It also often features just the neck, head, and maybe some portion of the subject’s torso.
The Long Shot
The long shot is the opposite of the close-up shot and often involves putting some distance between the subject and the camera. It gives a better view of what’s happening around the subject, and they may even have their whole body in the frame.
The Medium Shot
As the middle ground between a long and close-up shot, the medium allows most of the subject’s body to be in the frame. It typically includes the area from the waist up and works best for group scenes. Group scenes also often involve some conversation, so you may need to move closer for a bit to show emotion and certain expressions before moving back.
Extreme Close-Up Shots
Extreme close-up shots help add drama to a scene and can be used to increase emotional intensity. Whether it’s that frightened look on your subject’s face, the trembling hands, a ticking clock, etc., you may need to zoom in on these scenarios to capture their importance.
Extreme Long Shot

Extreme long shots help viewers put into perspective the size of the environment in relation to the subject. For instance, an extreme long shot can help show the size of a skyscraper in relation to smaller buildings around it. After all, it can be pretty hard to tell how big something is while seeing it on screen.
The Over-the-Shoulder Shot
The over-the-shoulder shot shows the head and shoulder are in the foreground but blurred out, while the main subject or object is in focus in the background.
The Panning Shot
The panning shot shows a horizontal movement of the camera to give a wider field of view. It’s an easy way to show surroundings and requires stable hands or a stabilizer, so you don’t end up with shaky footage. Depending on the scene, you can pan from left to right or right to left.
The Zoom Shot
As for the zoom shot, it’s a video recording technique where you start from a long shot or extreme long shot point of view and slowly get closer to the subject. Another variation of the same is the dolly zoom shot. With this, you zoom out from the subject with the lens while simultaneously moving the camera closer to the subject, which results in a vertigo effect. The Vertigo effect is the illusion of everything around a subject moving despite being perfectly still.
The Point of View Shot
The point of view or first-person shot shows a scene as if the viewer is looking through someone’s eyes. Fitting a GoPro camera around your head is one of the easiest ways to achieve a point-of-view shot.
The Tracking Shot
Tracking shots are where you follow the subject, such as when an actor walks through a hallway to another room. Filmmakers have used rail tracks to achieve the tracking shot in the past as it helps stabilize the scene and makes it look more streamlined. More recently, drones with a tracking flight mode have made the tracking shot easier for footage of fast-moving objects like cars.
The Tilt Shot
The tilt shot is a lot like the panning shot. However, in this case, the range of motion is either upwards or downwards. For instance, your scene can start with a shot of the sky and pan down slowly to a shot of the street.
The Dutch Angle Shot
With the Dutch Angle Shot, you tilt the camera to give the impression that buildings and other verticals like people or trees are tilted. It’s an excellent technique for portraying disorientation and can even add drama and a feeling of unease to a scene.
The Bird’s Eye Shot

The bird’s eye shot is taken from above using a drone. It can be used to show a massive scale, such as a neighborhood, part of a city, a canopy, etc. Often the bird’s eye shot is used in introductions and scene transitions.
How to Prepare Your Footage
Once you’ve shot the videos, there are various ways to prepare them so they get the best reception, as highlighted below.
Quality
Higher-quality video is always better whether you’re recording for personal use or sale as stock footage. 8K video recording is becoming increasingly common with new cameras and even smartphones. Currently, the standard is 4K resolution. However, ultra-HD resolution may still be acceptable depending on the budget of the content creator who chooses your stock footage and how they intend to use it.
Also, the frame rate is important, especially if you plan to slow down or speed up the pace of the recorded video in post-production. Slow-motion videos require higher frame rates, i.e., 60 fps and above, which can later be lower to something like 24 or 30 fps.
Another element of quality videos is good lighting and exposure. Lighting helps shape a scene, and filmmakers can change the feel by adding or removing light in a particular sequence.
Lastly, stability is important. No one wants shaky footage. As such, cameras or lenses with in-built stabilization are a plus, but gimbals and tripod stands will give you the best results.
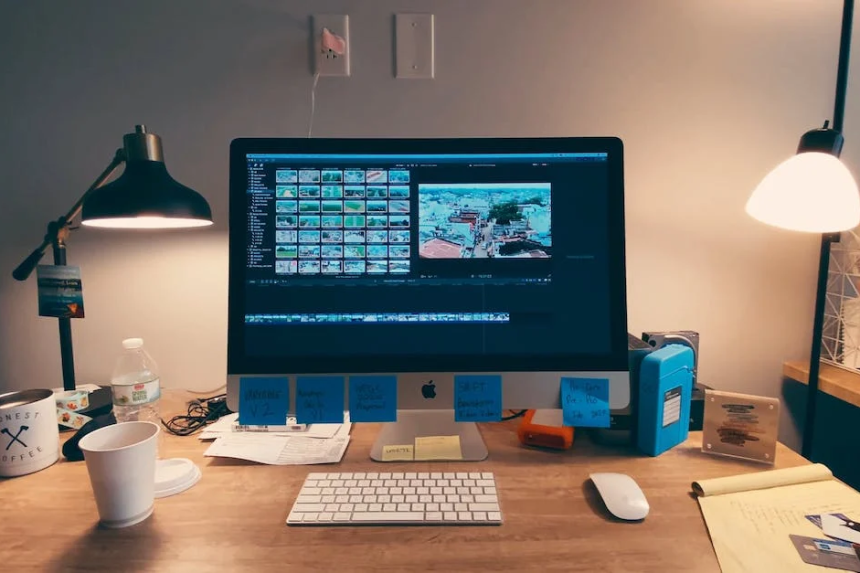
Editing and Length

As for the editing and length of the stock footage, you want it to be between 5 to 59 seconds. Most stock footage is between 10 to 20 seconds. That said, the clip you upload should be a straight shot from beginning to end, meaning you can’t stitch two takes from different videos together. Ideally, you should record for a bit longer than you need to and then trim the result.
Besides trimming the ends of the video clip, you also need to do some post-production. Some platforms recommend that you don’t alter the final result too much, although you can color grade the video to look more natural. Color grading to give the video a certain look or style might look good to you but, in the end, may turn away a few potential buyers.
On the other hand, if the clip colors look natural, the buyer can edit the clip further to match up with their content. Lastly, remove any copyrighted materials, such as the logos on that coffee shop you happened to capture in your clip. That way, you own all the rights to the footage.
Clip Description and Metadata
Being a stock footage video clip, you won’t be able to include as much information as you’d like with the upload. As such, you need to be as descriptive as possible with the tags. If you’ve ever uploaded any type of content online, you know that the tags and description can influence its reach.
Also, remember to tag the footage appropriately, even if you have to review it one more time during the upload. You might be uploading several videos, which can lead to confusion with the descriptions and tags. Ultimately, if you mess up, potential buyers will have a hard time finding the videos, and the people who find it may be looking for something else.
Include information in your title and tags about the subject, location, theme, etc. Related buzzwords can also make it easier to search for on Google.
Where to Sell Stock Footage
Fortunately, once you have stock footage ready, there are several stock footage platforms where you can upload your clips to make passive revenue. As for how much you can make selling stock footage, it all depends on the platform you choose since they offer different contributor commissions. The most popular platforms include:
Pond5
Pond5 offers fairly favorable terms and conditions for stock footage contributors, including setting the price for the content. Once the video clips are sold, contributors receive a 40% royalty share for those who’ve licensed their clips on other stock media websites. Those who only sell their stock footage on Pond5 can get as much as a 60% royalty share.
Getty Images
Getty Images is an industry giant in the stock footage industry and offers visibility to a wide range of buyers. It supports both editorial and commercial footage. Like Pond5, there are both exclusive and non-exclusive agreements between Getty Images and stock footage creators. Also similar is that creators are paid higher royalty rates for exclusive agreements.
Nevertheless, you’ll have to apply by downloading the Getty Images mobile app and uploading samples of your work. After review, you may be offered a non-exclusive agreement to start.
Shutterstock
Shutterstock also has a big following, with plenty of potential buyers logging in daily to check for downloadable stock videos. According to Shutterstock, their process involves uploading content and adding the metadata, description, and keywords. After that, the videos are reviewed, and if reviewed, the content will appear in the content creator’s portfolio.
Shutterstock’s payment structure depends on the number of video licenses sold annually. The more you sell, the more money you make, with the royalties ranging from 15% for a video to 40%.
Wire stock
If you don’t know how to write effective descriptions and metadata, then Wirestock is a great option. The platform does the keywording and captions for contributors before distributing them to brands and marketing agencies. It can also distribute the stock footage clips to other platforms like pond5, Shutterstock, Adobe Stock, etc. Also, you get a single dashboard from which you can track all your sales on various platforms.
Adobe Stock
Adobe Stock is an easy platform to use, especially for those who use Adobe Premiere Pro for video editing. In fact, users can export footage directly from the editing software. According to Adobe, video contributors also get a 35% royalty rate when their submissions are purchased.
Vimeo
You can also upload your video content to platforms like YouTube and Vimeo. These offer monetization opportunities but not for selling stock footage. Instead, paid ads will be placed at certain intervals in your video, and you’ll be paid for each person who views the ad or pays for a subscription. This works better if you create longer-form videos instead of short 10-20 second clips.
Other services
Other services you can look into for selling stock footage and stock drone footage include footage.net, Videvo, Storyblocks, MotionElements, Dissolve, and iStock. That said, iStock is owned by Getty Images and might not be all that different from the parent company.
Conclusion
While selling stock footage isn’t easy, it can be a fun endeavor and, over time, can put enough money in your pocket to make the hassle worthwhile. However, before you can even press record, you’ll need to learn basic cinematography, invest in some equipment, and research for the best results. Furthermore, you’ll need the right paperwork that will allow you to earn from your work. Lastly, you’ll have to film a lot before uploading it to the various stock footage platforms. Depending on how seriously you take each step, it may not be long before cash starts flowing into your account.
References
https://www.faa.gov/uas/commercial_operators/become_a_drone_pilot
https://guides.lib.unc.edu/metadata/definition
https://support.submit.shutterstock.com/s/article/How-do-I-submit-video-for-review?language=en_US
https://helpx.adobe.com/stock/contributor/help/royalty-details.html
